This summer began with a generous amount of rain in early June but shortly after the solstice mother nature’s rays of sunshine brought warm and crisp temperatures, leaving the remainder of the summer to become dry and crunchy.
As a gardener, this meant that much of my garden started off strong and was able to produce generously enough for me to consume regularly for a while. Come August though, much of my plants were withered and struggling to hold on. I had to decide whether or not to keep everyone watered enough to barely hang on or to cut it all down and prep for fall, switching my focus towards soil health and bed prep vs production and harvesting.
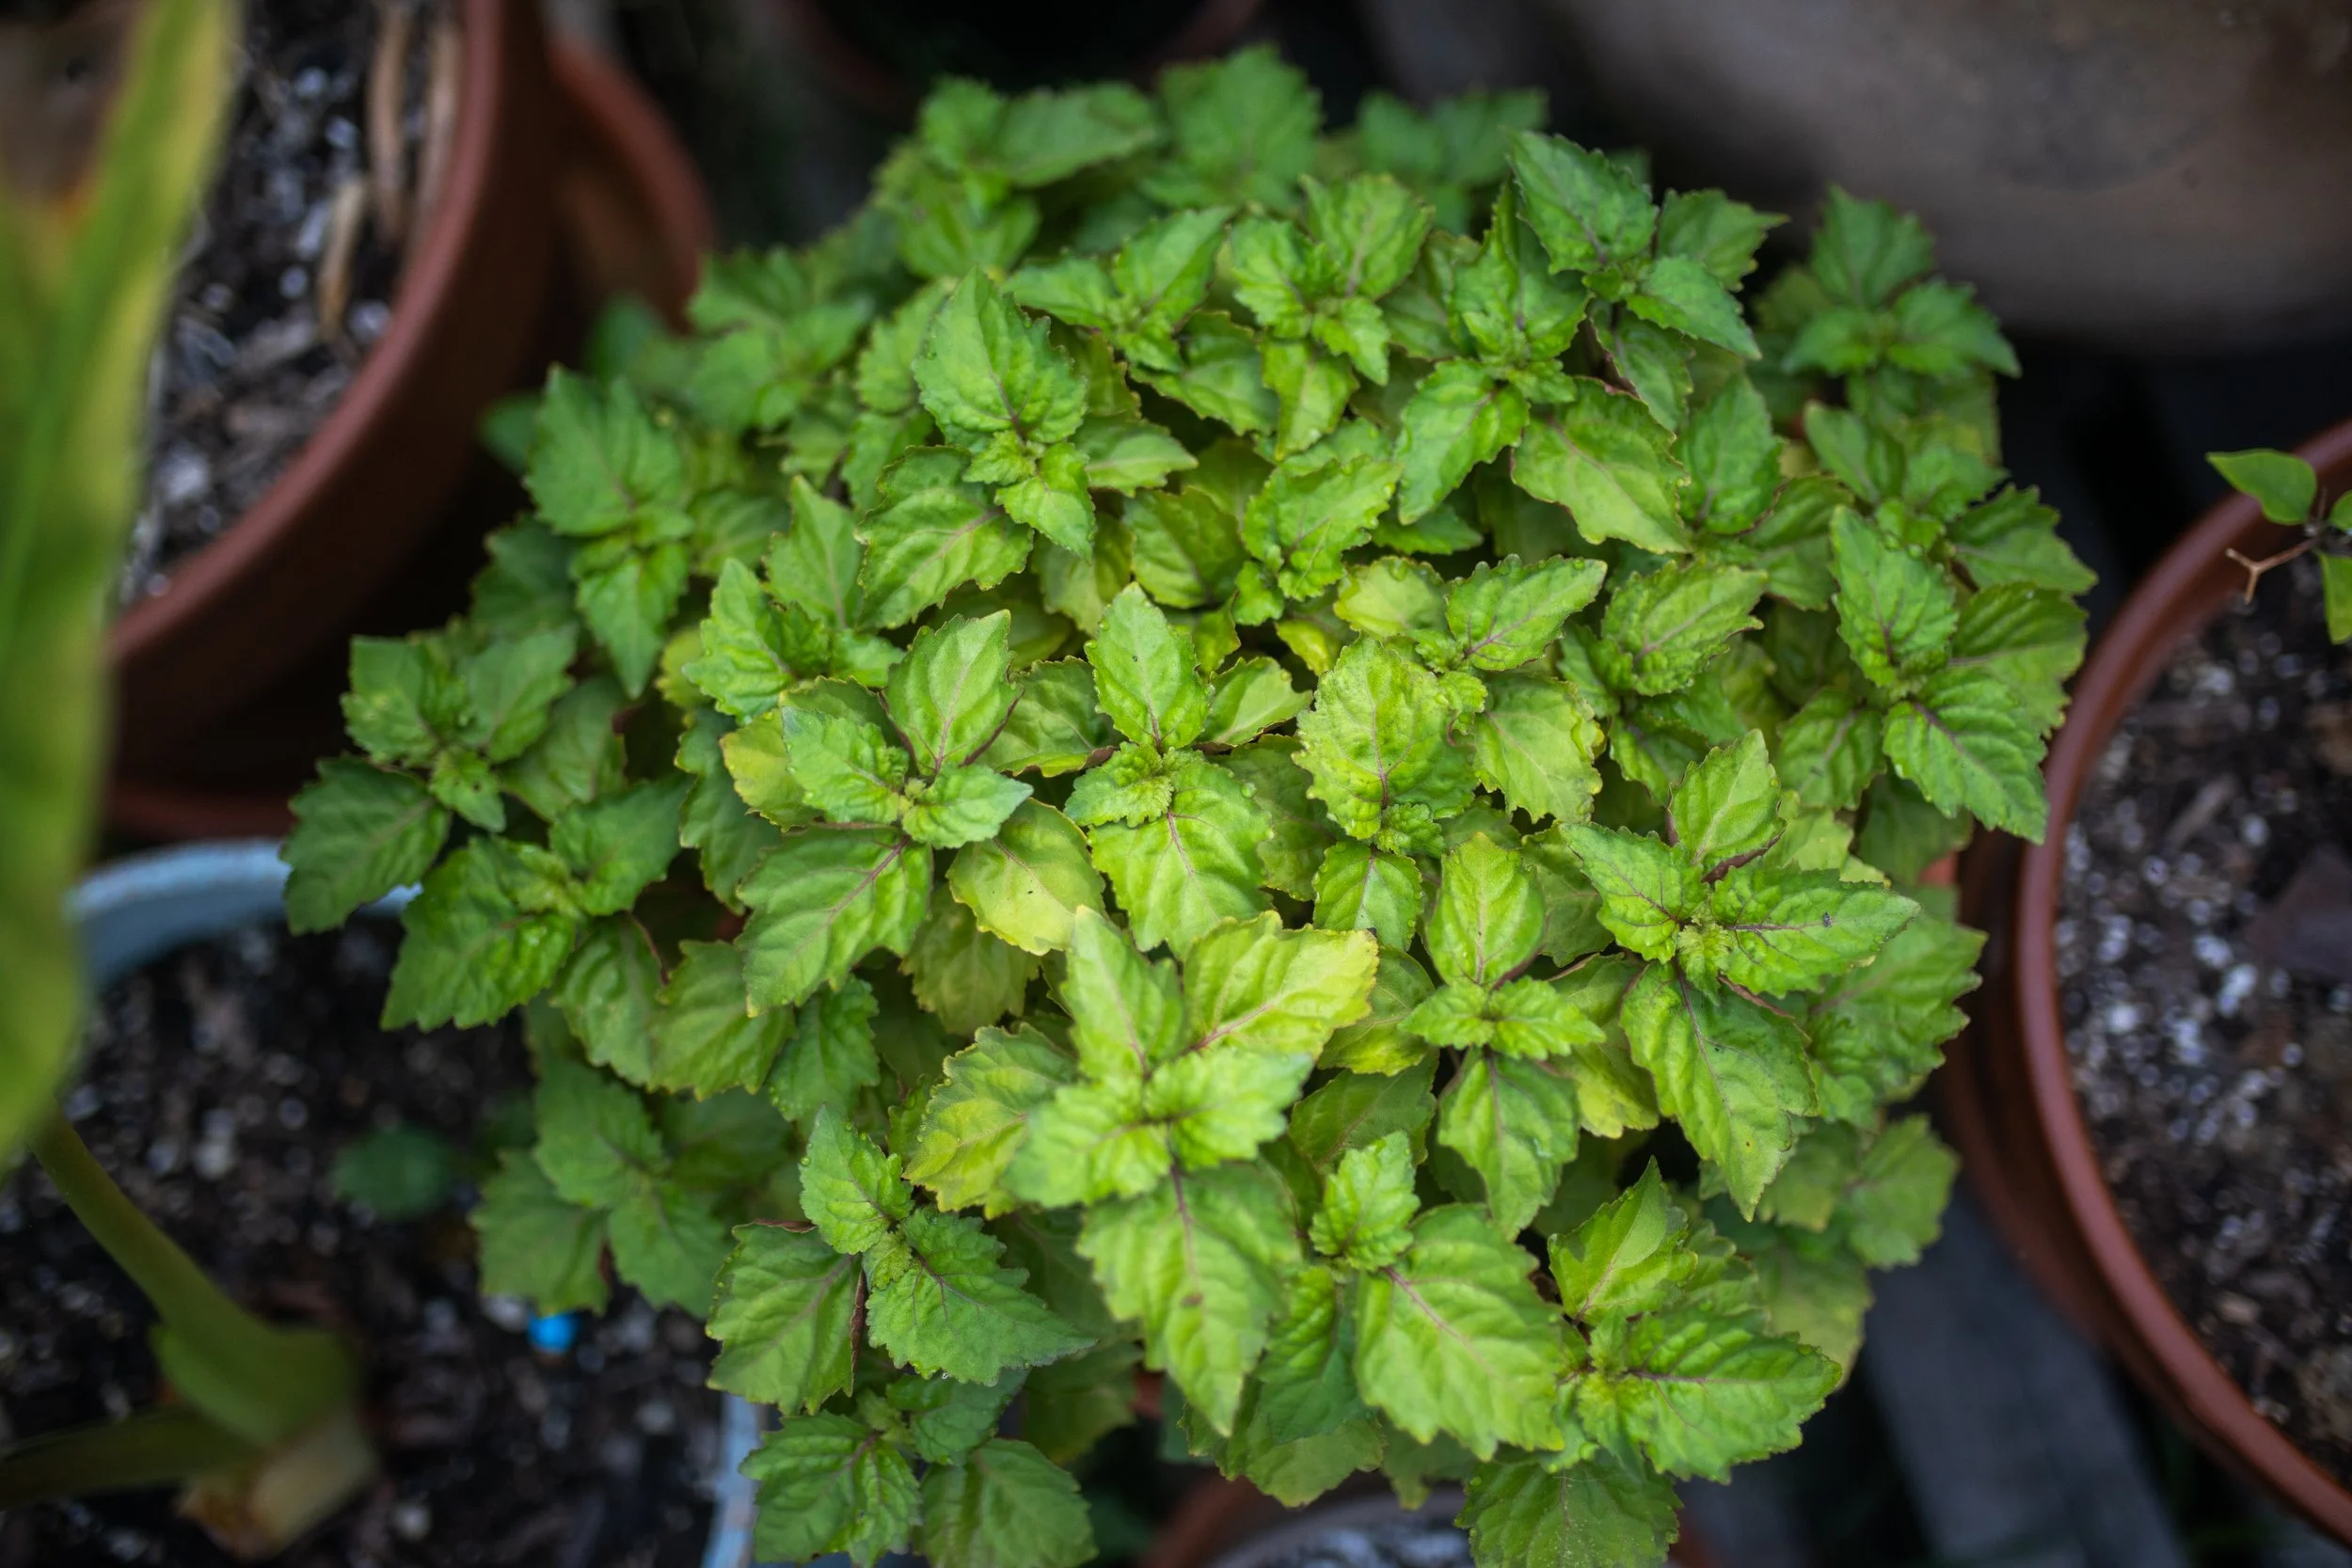
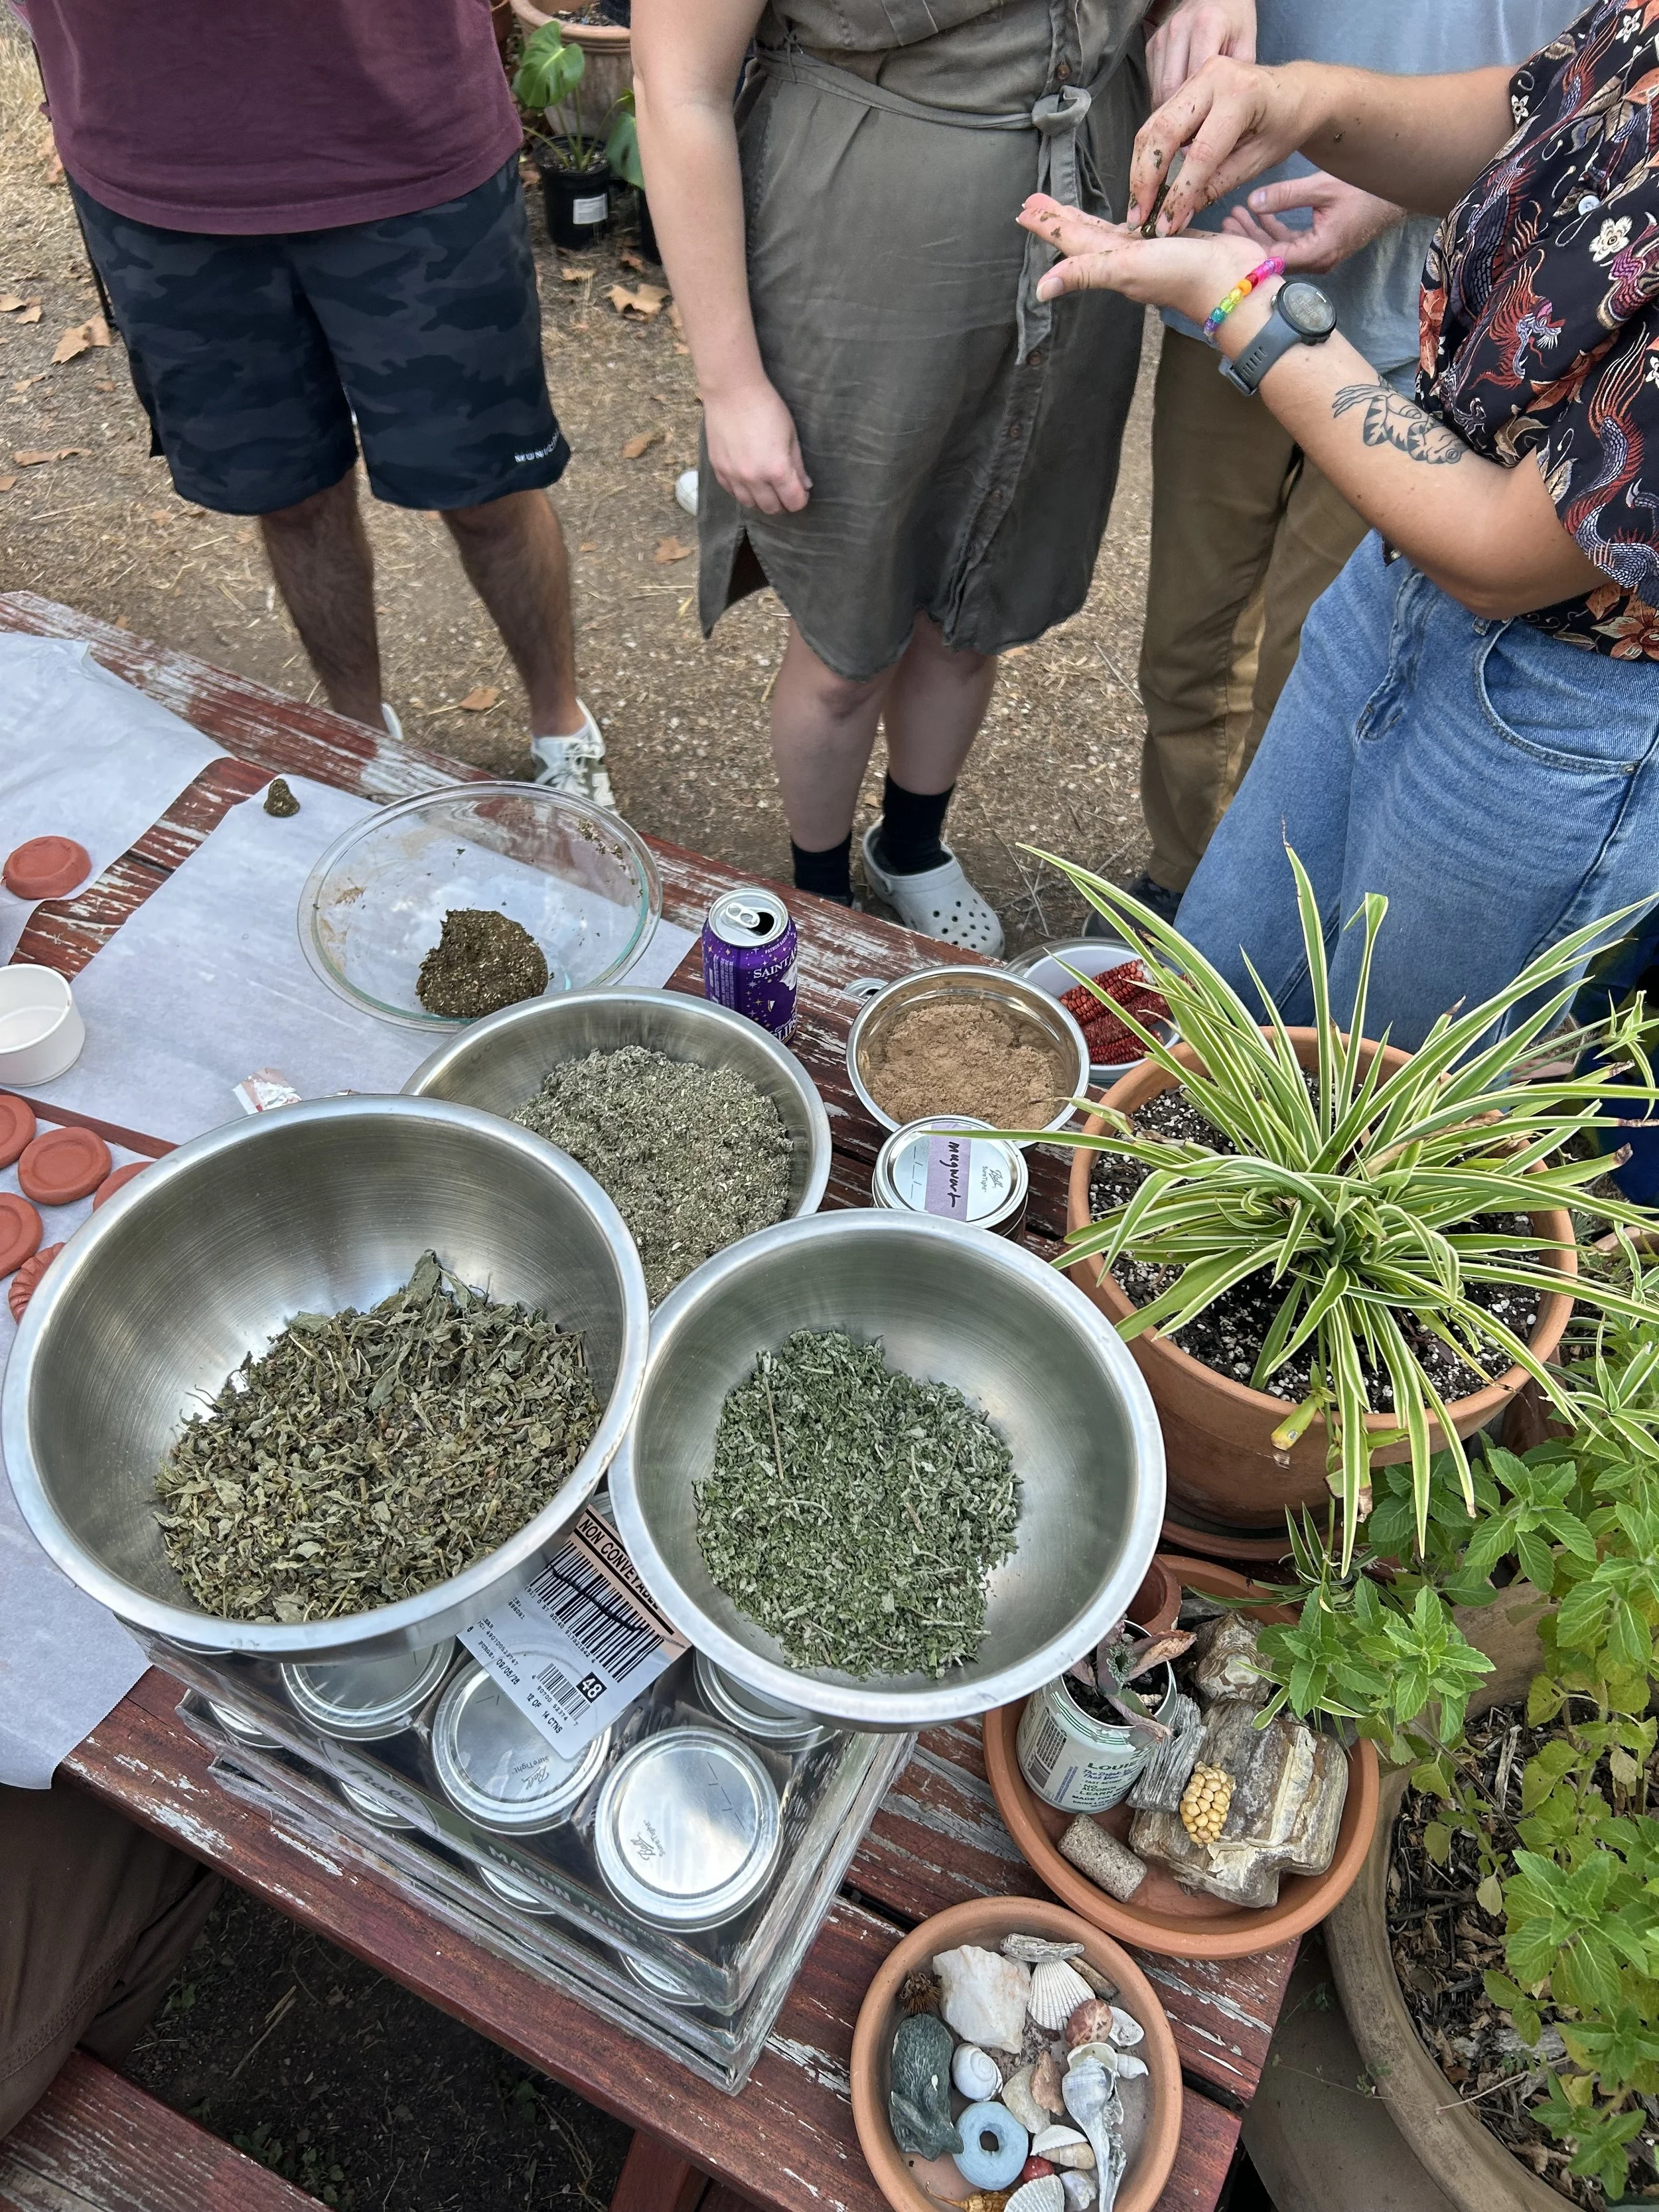
So, once my mind was made up, I went to town bringing my summer garden to a close. This is always a bittersweet moment. During this process I am sure to thank my plants for all that they had given me during this season of blooming and growing. Once cut, most of my plant matter gets carried to my backyard to be added to my compost pile. I try to keep as much of the land mass and food waste in my yard as I possibly can with the hope of using it in some way in the future. While my tomatoes, loofahs, peppers, and cantaloupes were taken to the compost pile, my basil, rosemary, tulsi, thyme, and mugwort were bundled and hung up to dry. The intention was to dry these herbs for 2-4 weeks to use to make herbal incense based off of a recipe I found that was passed on by an herbalist.
I know myself well enough to know that I would not follow the recipe to an exact T but I did find it important to have some framework to go off of. Much of what this recipe called for I was able to gather from my garden or that of my fellow Sol Tides teammates. The only ingredients we did not collectively have were marshmallow root and oak wood chips. These two ingredients are essential for the binding during production and the even burning of the incense. The marshmallow root was easy to source from a local herb shop here in Austin called Green & White Grocery. The oak wood chips were something we thought we would be able to acquire from a local saw mill. Unfortunately, no potatoes. The saw mill didn’t have at the time what we needed so this meant we had to be flexible and find an alternative. That is where makko powder came into play. This was something we weren't able to source locally but we tried our best and that's all that matters.
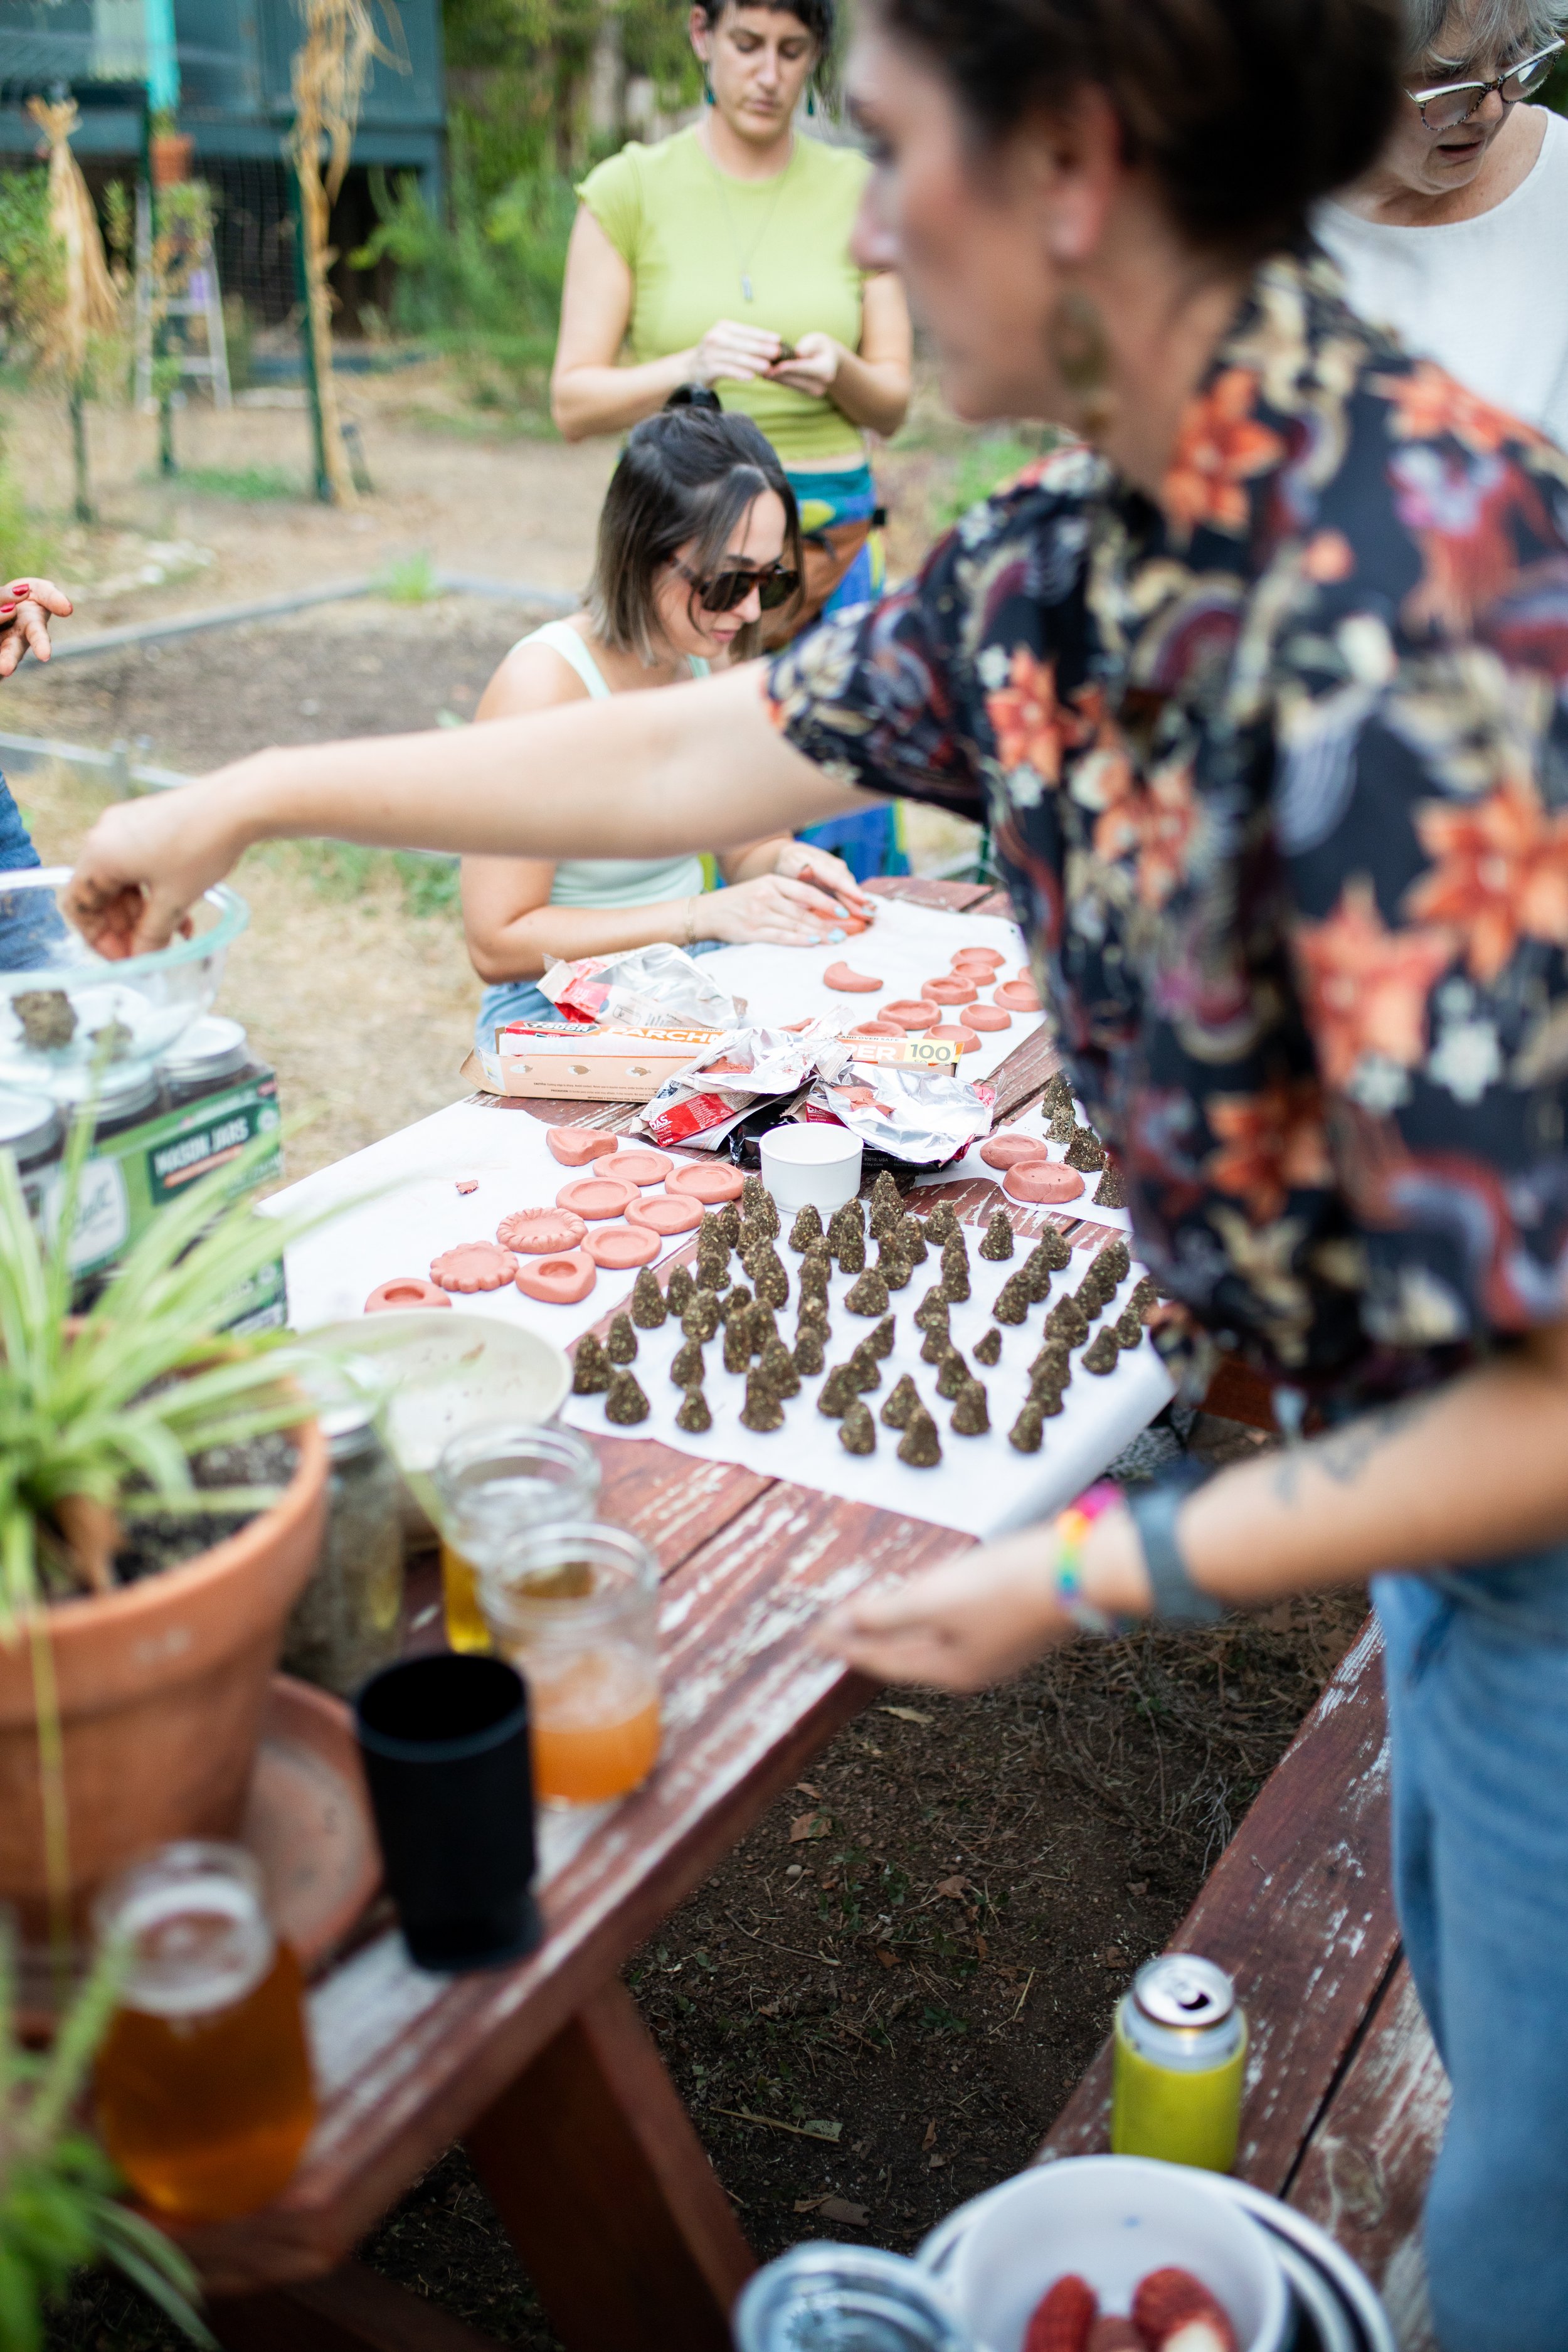
Now that we had all the ingredients and the herbs had dried it was time to make some incense! Let’s go, baby! In my opinion, this was an absolutely exciting activity as it allowed for many people to participate all at once. Each and every person was able to use their hands to create the incense cones while gathered around a picnic table outside enjoying the fresh air while watching the sun set in the west.
Goal: Make Herbal Cone Incense
Ingredients: Thyme, Rosemary, Mugwort, Patchouli, Spearmint, Basil, Marshmallow Root, Makko Powder, Spring Water
Recipe: The general rule of thumb for this recipe is 2 part herbs to 1 part makko powder with 5-6 tablespoons of spring water.
Begin by stripping all of the leafy matter from the stems of the herbs as best as you possibly can. Blend together the mugwort, marshmallow root, and rosemary in a 1:1:1 ratio. I used these as a base. The marshmallow root is to help with binding while the mugwort and rosemary help to create a safe space and ward off negative energy while burning. Next, add to the blender your choice of thyme, patchouli, spearmint, or basil to add fragrance and more power to the incense itself as all of these herbs carry their own significance. Add these at an amount that in total is equal to the 1 part size used above.
Example: Use 1 cup mugwort, 1 cup marshmallow root, 1 cup rosemary, and 1 cup fragrance herbs (½ cup thyme, ½ cup patchouli).
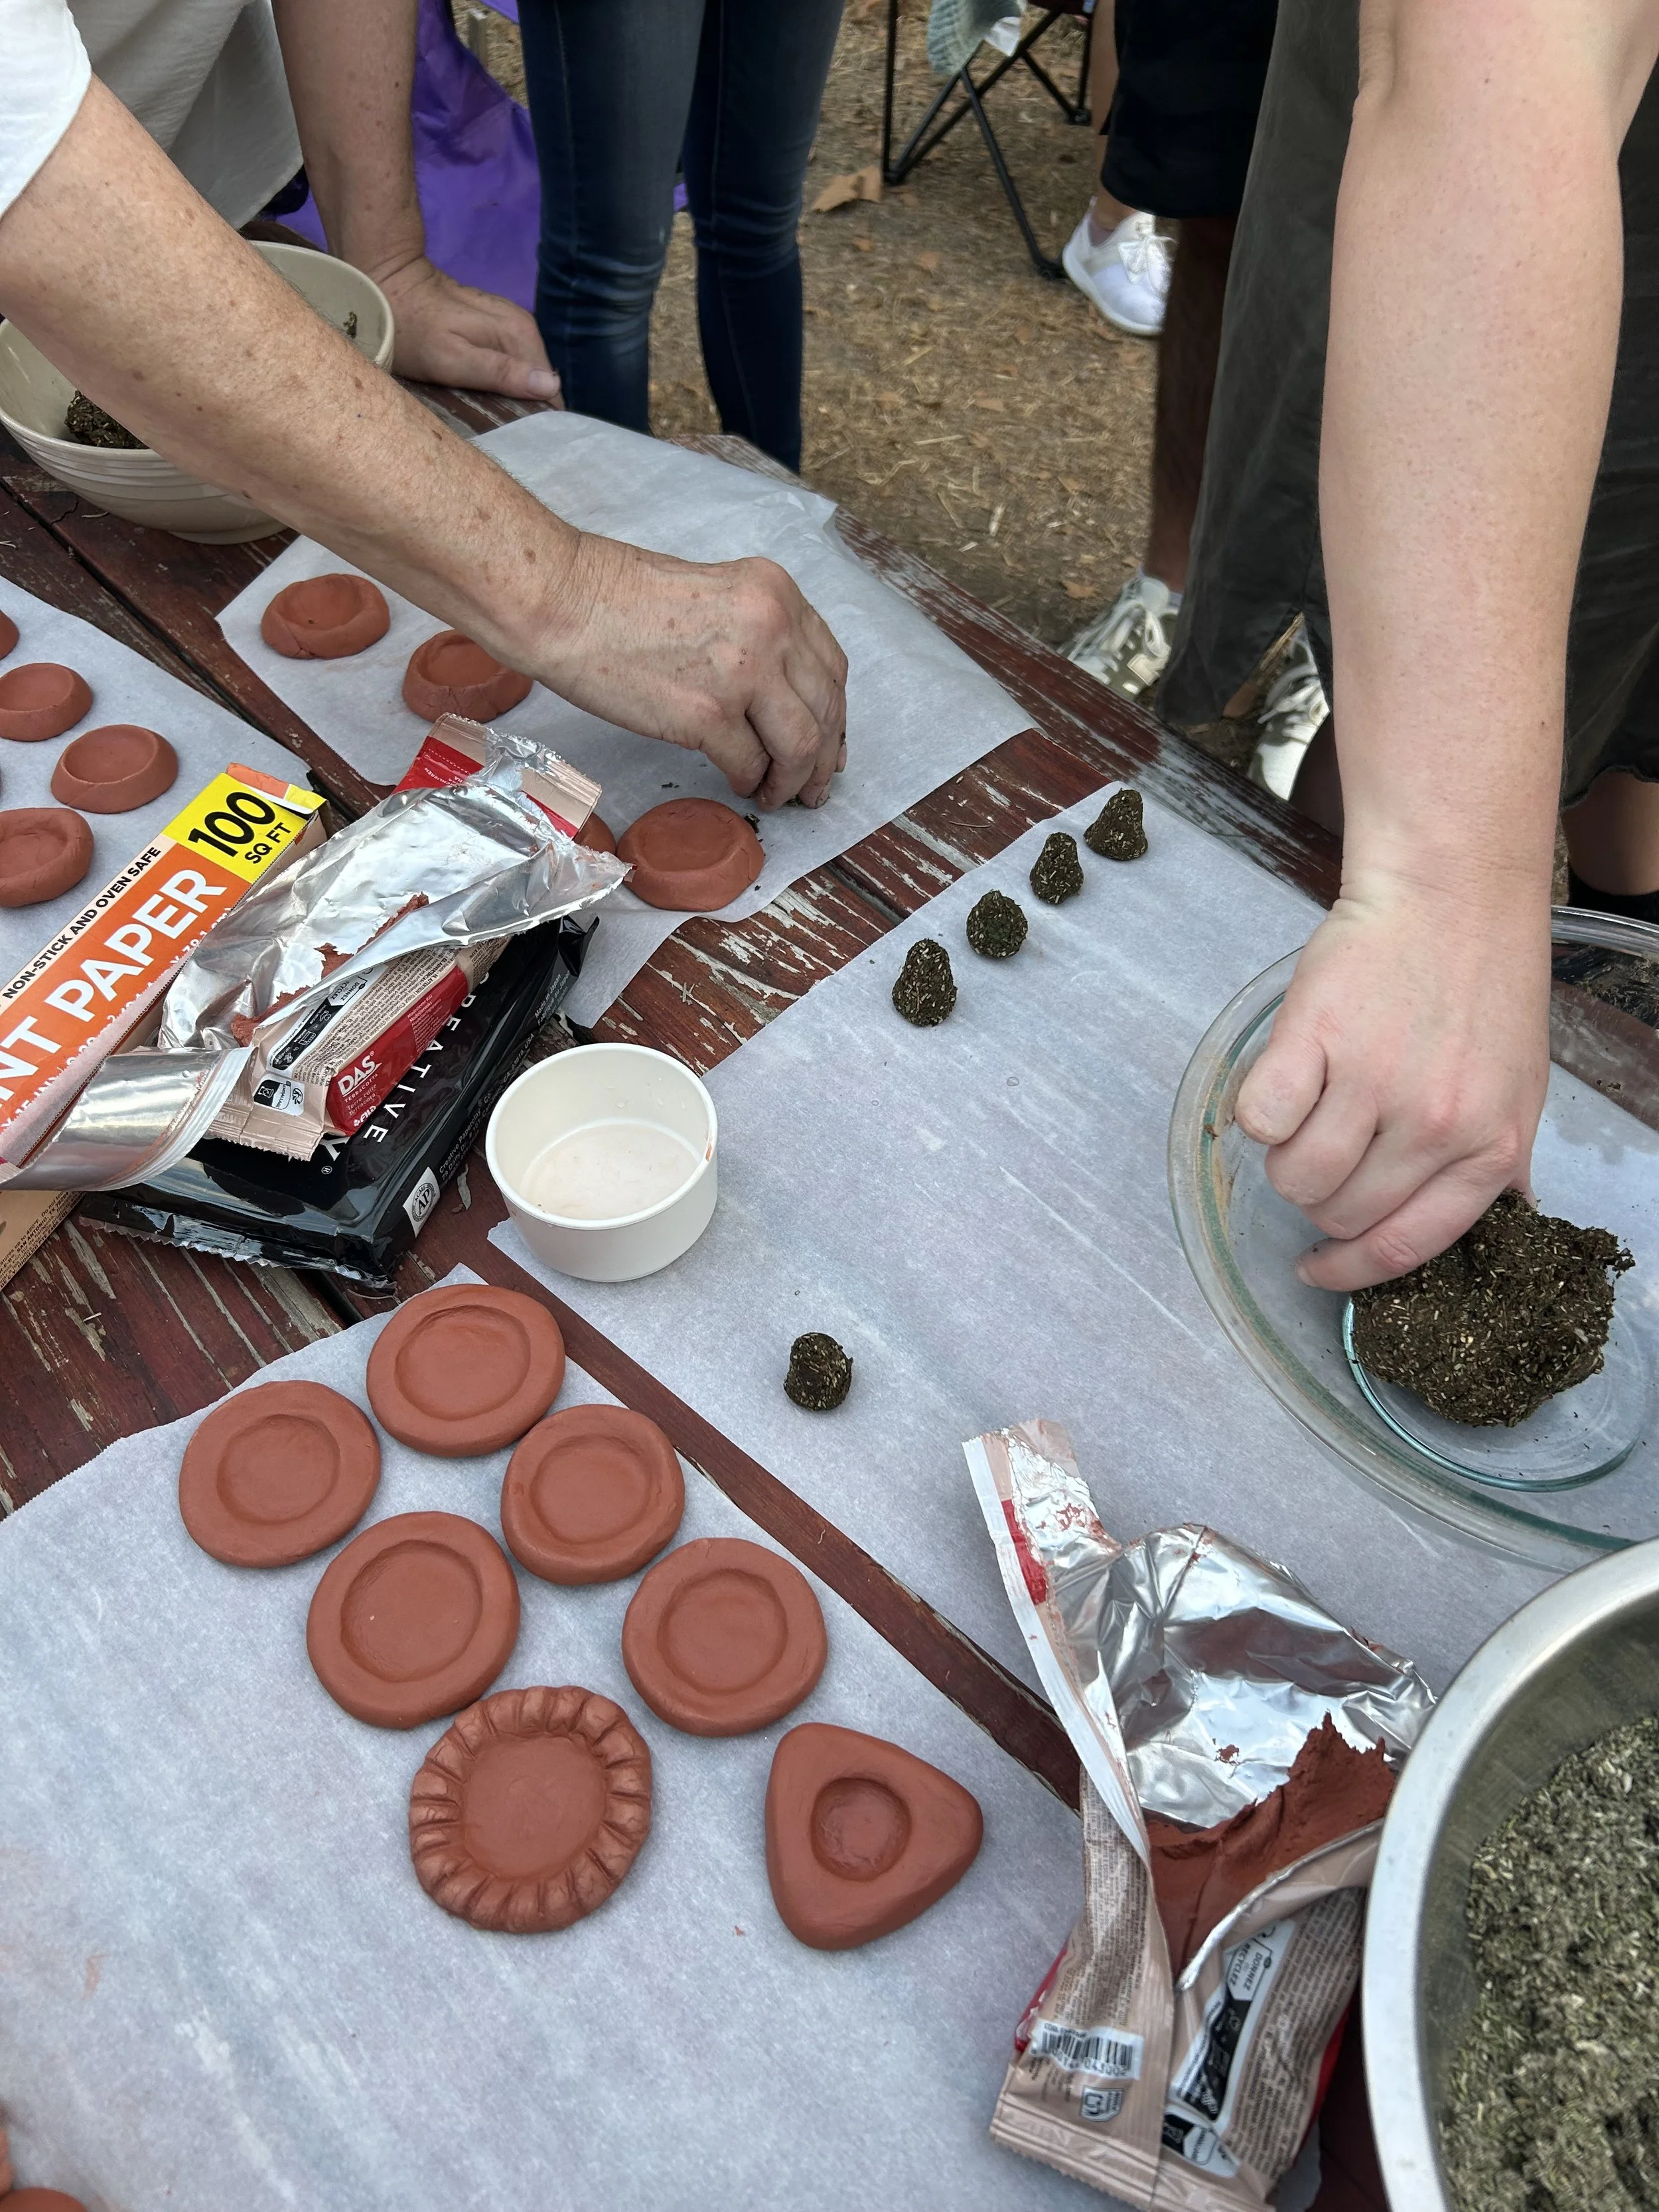
Next, let's add the makko powder. The makko powder should equal half of all of the plant matter as the ratio is 2:1 for herb to makko powder. Once evenly blended, empty the contents of the blender into a big glass or stainless steel bowl. Gradually add 5-6 tablespoons of spring water to the blend to help you mold and create a ball of “dough” using your hands.
Once the ball of “dough” is created, lay down a sheet of parchment paper. Pull a pinch's worth of material from the “dough” and roll it into a ball. Once in a ball, press one side of the ball into the palm of your hand and use your fingers to mold the other half of the ball into a cone shape. Once you are pleased with your cone, take a pen, pencil, skewer, whatever you can and stick it into the bottom of the cone (the side you put your palm on) to create an indent. Be sure not to go all the way through to the tip of the cone. Think of this as a hole to help with the drying and burning process for reasons of airflow. This we did not do and I regretted it after the fact. Some incense molded 🙁
Lastly, place the incense onto the parchment paper and allow them to dry for 2 days in direct sunlight or 7 days indoors. Recommended to flip them on their side mid way through the week if drying indoors to help with the drying of all sides.
Happy burning, y’all! Let’s hope this is an incensely helpful recipe!
Yours truly,
-Liz